Changing a flat tire is an essential skill for any driver. Knowing how to handle this common roadside emergency can save you time, money, and frustration. At HiTech Automotive in Brandon, Florida, we believe in empowering our customers with the knowledge and confidence to tackle minor car issues on their own. In this blog, we’ll provide a step-by-step guide on how to change a flat tire, along with some helpful tips to make the process as smooth and safe as possible.
What You’ll Need
Before you begin, make sure you have the following tools and items in your vehicle:
- Spare tire (fully inflated)
- Car jack
- Lug wrench
- Wheel chocks (optional but recommended)
- Gloves (optional but recommended)
- Reflective triangles or flares (for safety)
- Tire pressure gauge (optional but useful)
Step-by-Step Guide to Changing a Flat Tire
1. Find a Safe Location
Safety is your top priority when changing a tire. Follow these steps to ensure a safe environment:
- Pull Over Safely: If you’re driving when you notice a flat tire, find a safe spot to pull over. Ideally, choose a flat, level area away from traffic, such as a parking lot or the shoulder of a road.
- Turn on Hazard Lights: Activate your hazard lights to alert other drivers that you’re stopped and working on your car.
- Set Up Reflective Triangles or Flares: Place reflective triangles or flares behind your vehicle to increase visibility, especially if you’re on the side of a busy road.
2. Prepare Your Vehicle
Before lifting your car with the jack, take these preparatory steps:
- Apply the Parking Brake: Ensure your car doesn’t roll while you’re changing the tire.
- Place Wheel Chocks: If you have wheel chocks, place them behind the wheels to prevent any movement. If you don’t have chocks, use heavy objects like rocks or bricks.
3. Loosen the Lug Nuts
Loosening the lug nuts before jacking up the car makes it easier to remove the tire later:
- Remove the Hubcap: If your car has a hubcap covering the lug nuts, remove it first.
- Loosen the Lug Nuts: Use the lug wrench to turn the lug nuts counterclockwise. Don’t remove them completely yet; just loosen them enough so they can be unscrewed by hand later.
4. Lift the Car with the Jack
Next, you’ll need to lift your car off the ground:
- Position the Jack: Consult your vehicle’s owner’s manual to find the proper jacking point, usually located near the flat tire. Place the jack securely in this position.
- Lift the Car: Use the jack to lift the car until the flat tire is about 6 inches off the ground. Make sure the car is stable before you proceed.
5. Remove the Flat Tire
Now you can take off the flat tire:
- Remove the Lug Nuts: Finish unscrewing the lug nuts and keep them in a safe place.
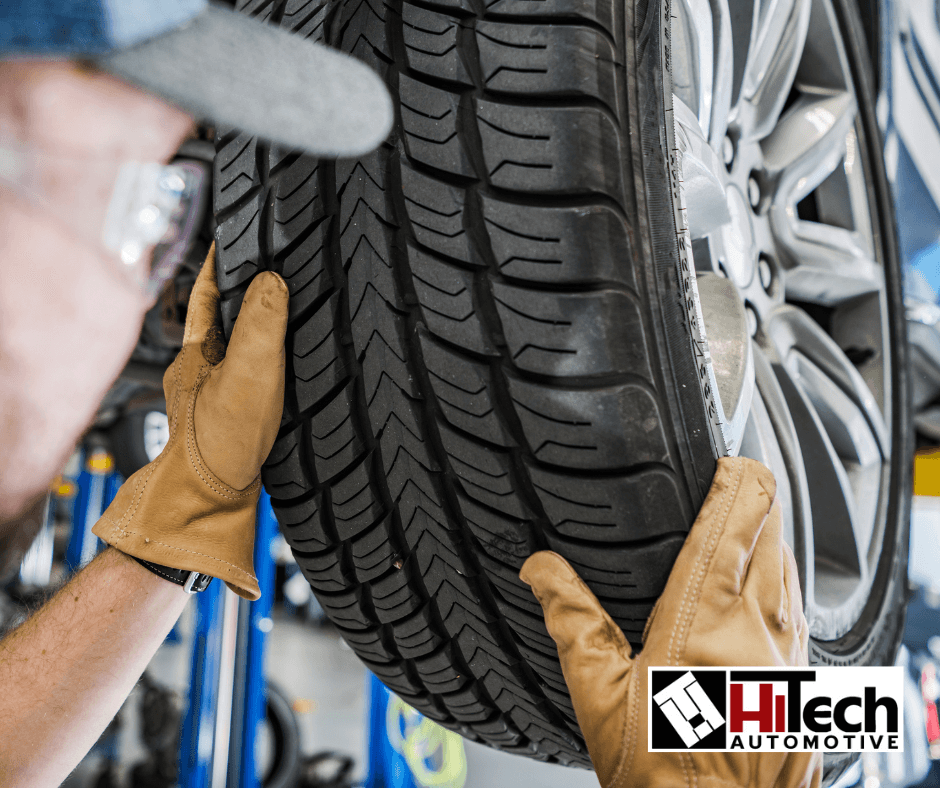
- Remove the Tire: Pull the flat tire straight off the wheel hub. Place it flat on the ground so it doesn’t roll away.
6. Mount the Spare Tire
Mounting the spare tire is straightforward:
- Align the Spare Tire: Align the spare tire with the wheel bolts and push it onto the hub.
- Hand-Tighten the Lug Nuts: Put the lug nuts back on the bolts and tighten them by hand as much as you can.
7. Lower the Car and Tighten the Lug Nuts
After the spare tire is in place, you’ll secure it:
- Lower the Car: Use the jack to lower the car until the spare tire is just touching the ground. Don’t fully lower it yet.
- Tighten the Lug Nuts: Use the lug wrench to tighten the lug nuts in a star pattern. This ensures even pressure and secure fitting. Tighten them as much as possible.
- Fully Lower the Car: Lower the car completely and remove the jack.
- Final Tightening: Give the lug nuts one final tightening with the lug wrench to ensure they’re secure.
8. Check the Spare Tire Pressure
Before you drive away, it’s important to check the spare tire’s pressure:
- Use a Tire Pressure Gauge: If you have a tire pressure gauge, use it to check the spare tire’s pressure. It should match the recommended pressure listed in your vehicle’s manual.
- Adjust If Necessary: If the pressure is too low, inflate the tire to the correct pressure. Most gas stations have air pumps you can use.
Additional Tips and Safety Precautions
- Practice at Home: If you’ve never changed a tire before, practice in your driveway so you’re prepared in an emergency.
- Regularly Check Spare Tire: Ensure your spare tire is always properly inflated and in good condition.
- Know Your Vehicle: Familiarize yourself with your car’s jacking points, lug nut size, and the location of your spare tire and tools.
When to Visit HiTech Automotive
While changing a flat tire is a useful skill, it’s important to have any tire-related issues inspected by professionals. At HiTech Automotive in Brandon, Florida, we offer comprehensive tire services, including tire repairs, rotations, and replacements.
- Tire Inspections: We’ll check for any damage or wear that might require further attention.
- Tire Balancing and Alignment: Ensure your tires wear evenly and your car handles smoothly.
- New Tires: If your spare is a temporary fix, visit us to choose the best new tires for your vehicle.
Schedule Your Service Today
At HiTech Automotive, we’re dedicated to keeping your vehicle safe and reliable. Whether you need tire service or any other automotive repairs, our skilled technicians are here to help. Contact us today to schedule an appointment or learn more about our services.


